
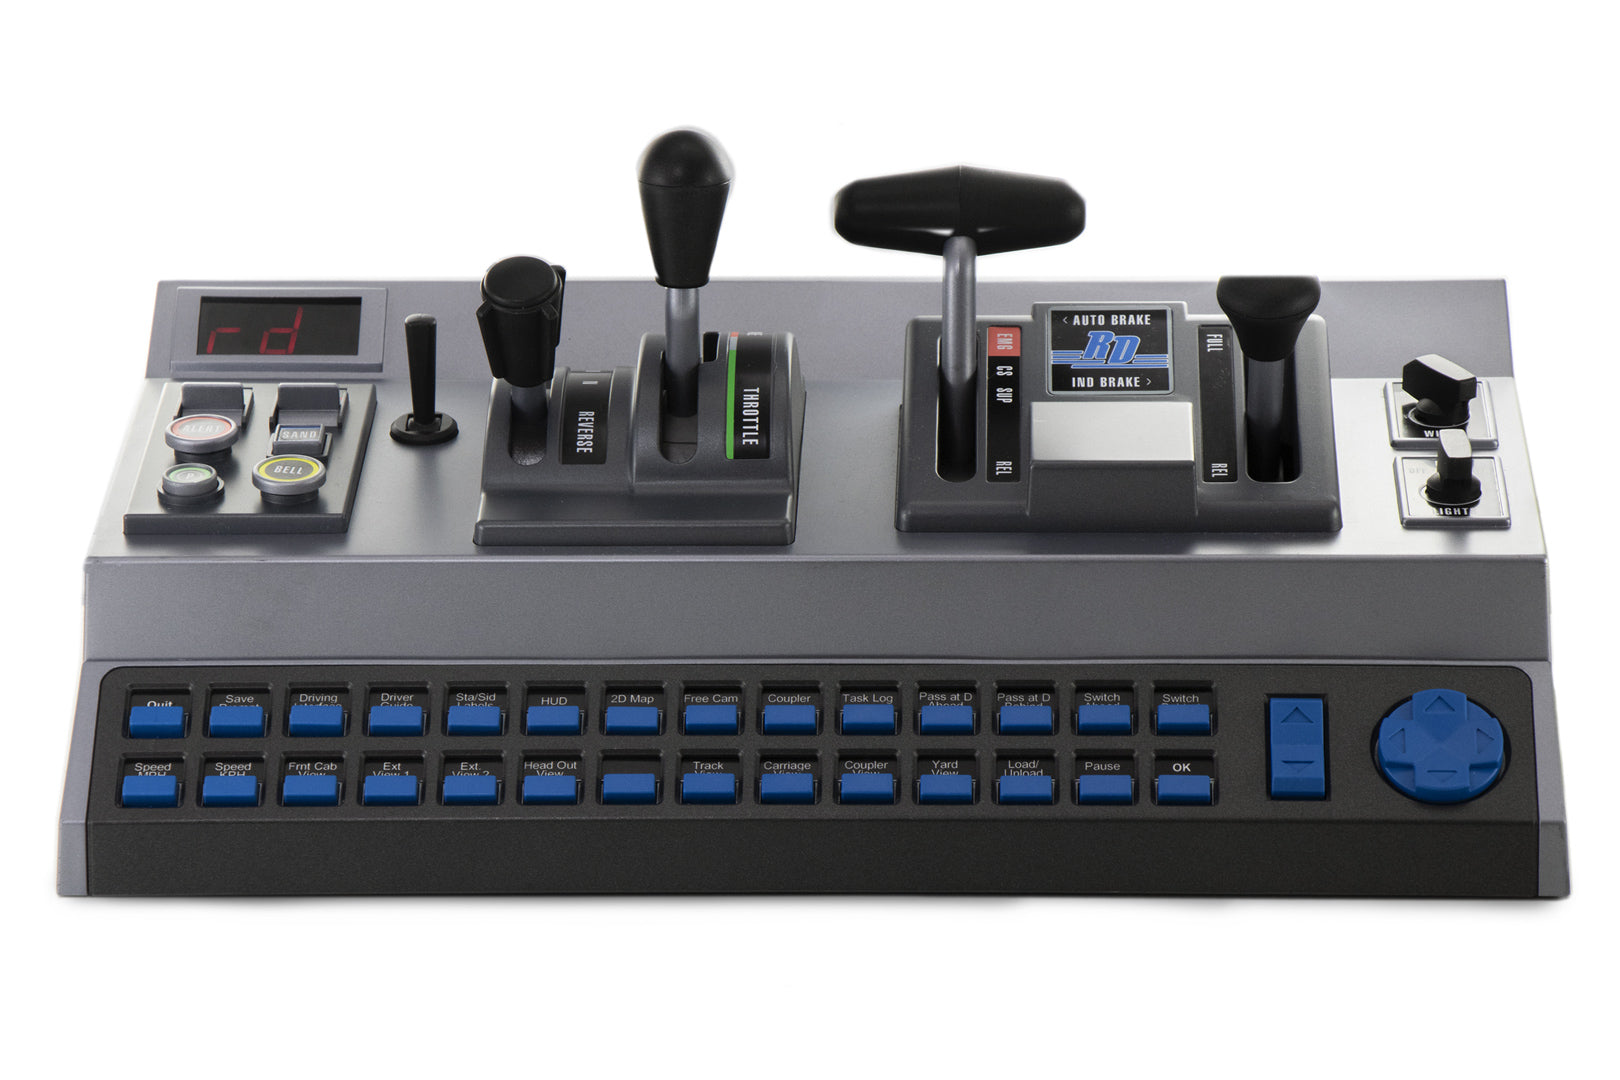
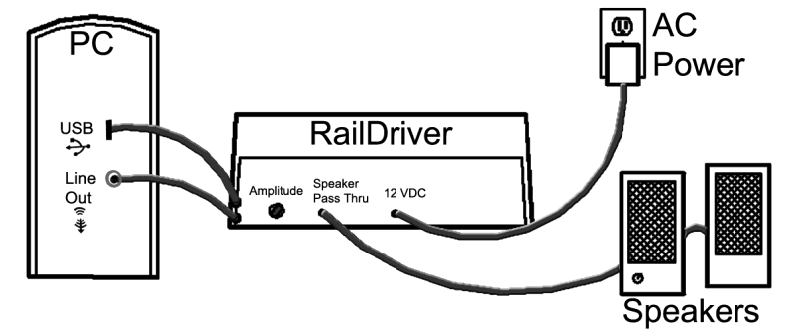
Using RailDriver with Train Master 4.3
THIS QUICK START APPLIES TO
Download Train Master and RailDriver Software
Currently Supported: Windows 2000, Windows ME, Windows XP, Windows 7 (32/64)
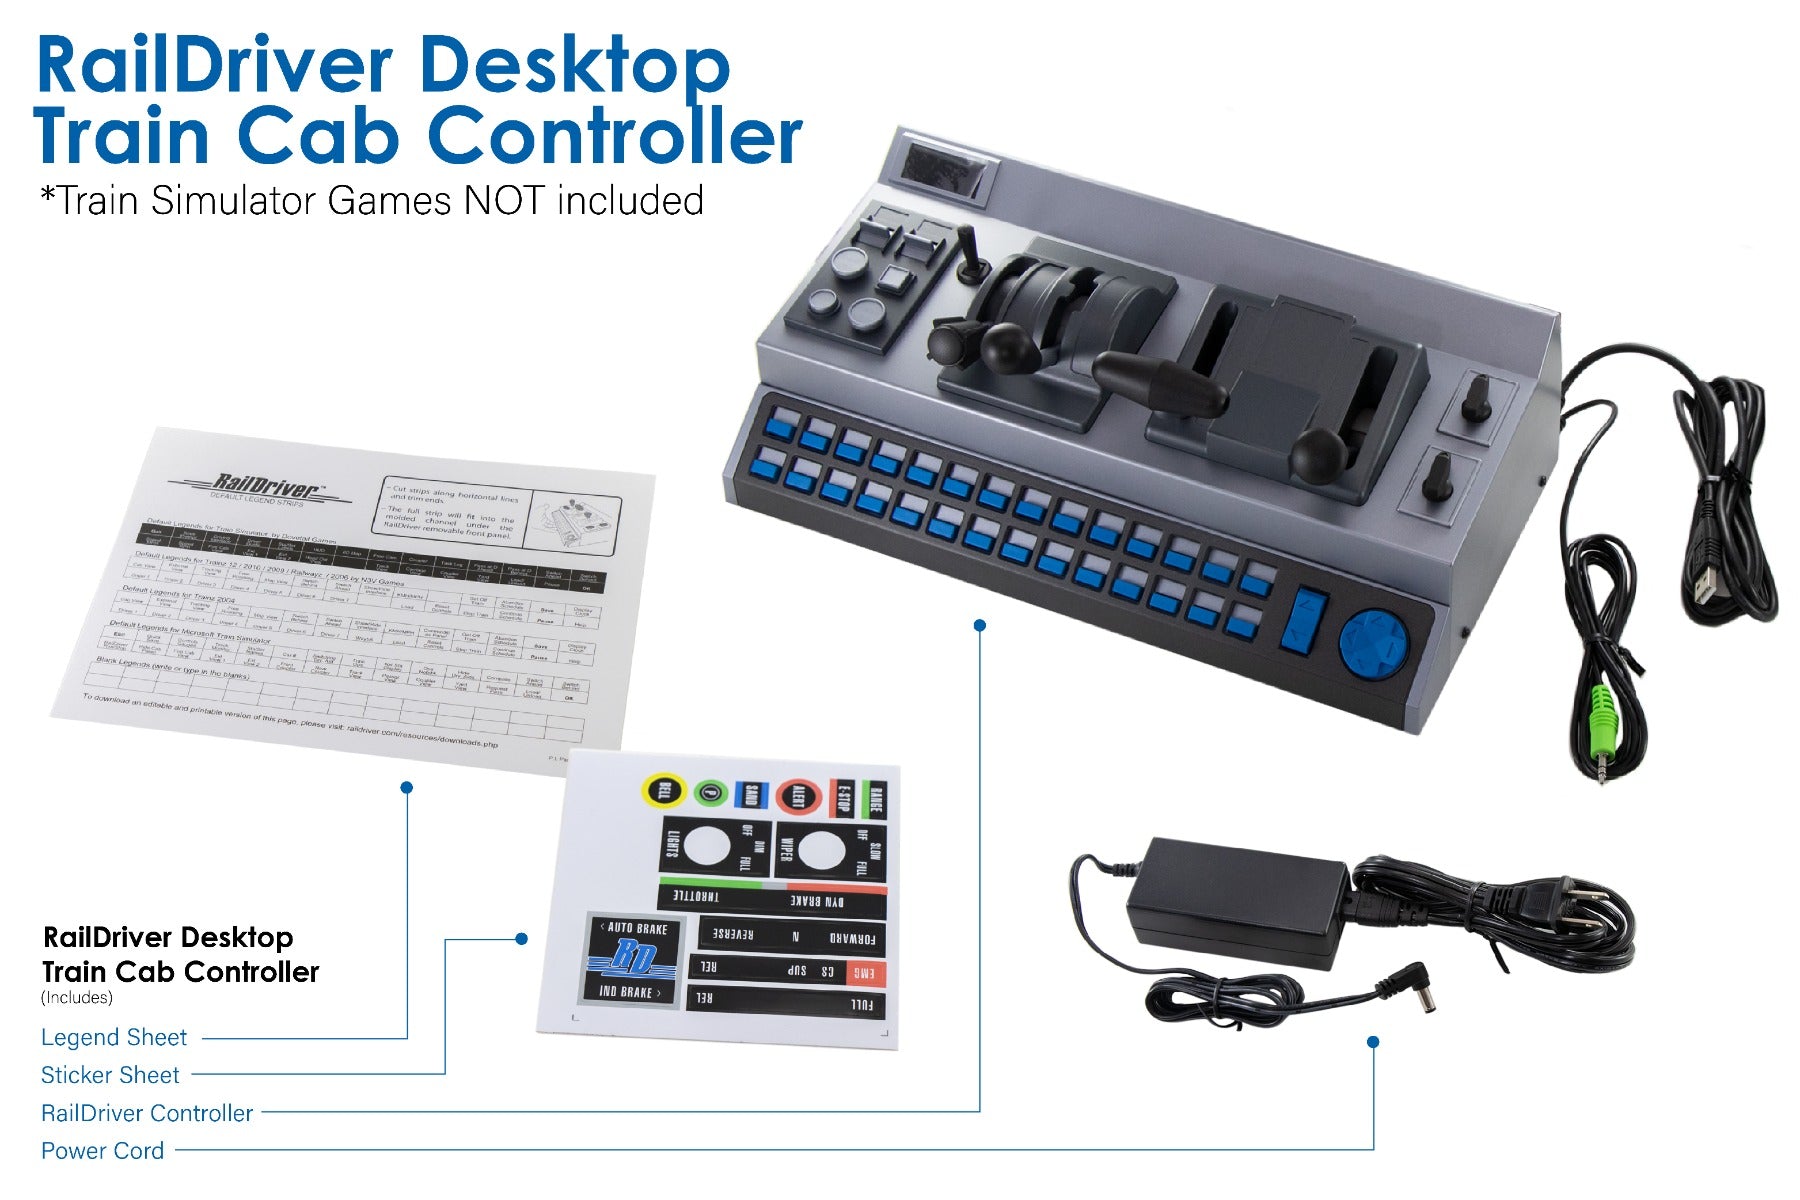
Contains:
- RailDriver™ Calibration v1.0.2.7
- Trainmaster 4.3 v4.4.0.7
Installation
- Install TrainMaster 4.3 first. (You can delete the TM RailDriver Interface icon from your desktop, as it is obsolete.)
- Download the
rdtm43.exefile. - Install
rdtm43.exe.
If you are on Windows 7 or newer:- Locate the file (default location:
C:/Users/[YourName]/Downloads). - Right-click it and select Troubleshoot Compatibility.
- Choose Try Recommended Settings, then click Start the Program….
- If you see a flashing User Account Control window in your taskbar, click Yes.
- Locate the file (default location:
- A calibration window should appear. Follow the instructions.
- If calibration does not start:
- Navigate to the RailDriver installation folder.
- Run
RDcalibration.exemanually. - If an error message says the file did not install correctly, select File installed correctly as long as installation completed.
Start TrainMaster
- Launch TrainMaster 4.3.
- Select your train and route from the File menu.
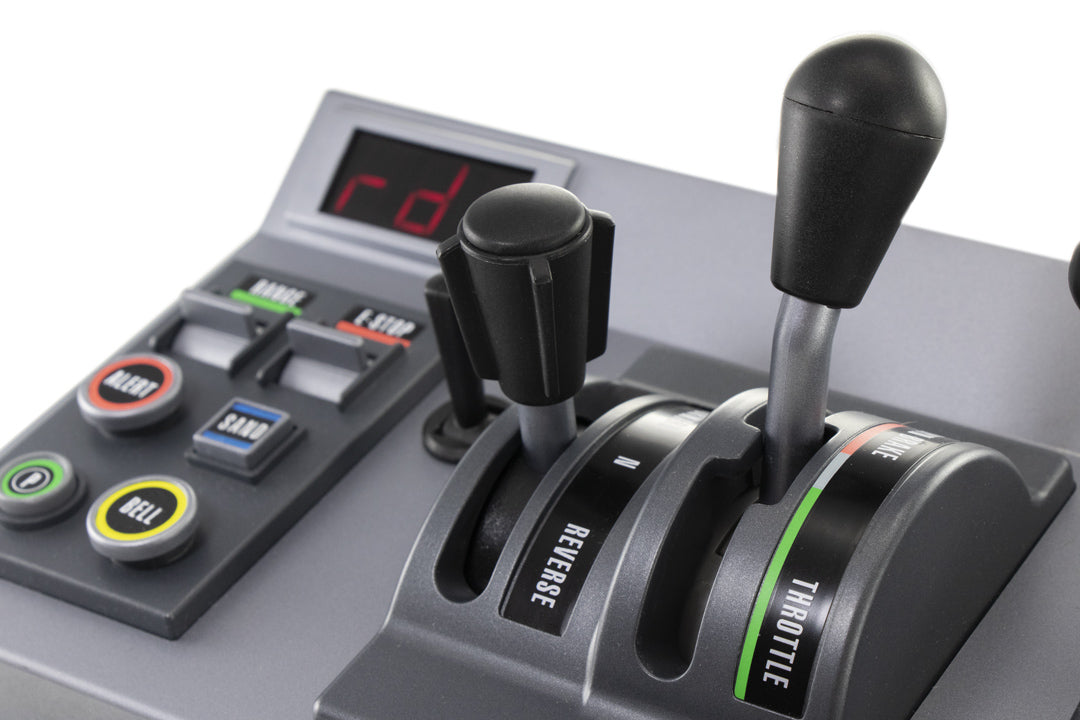
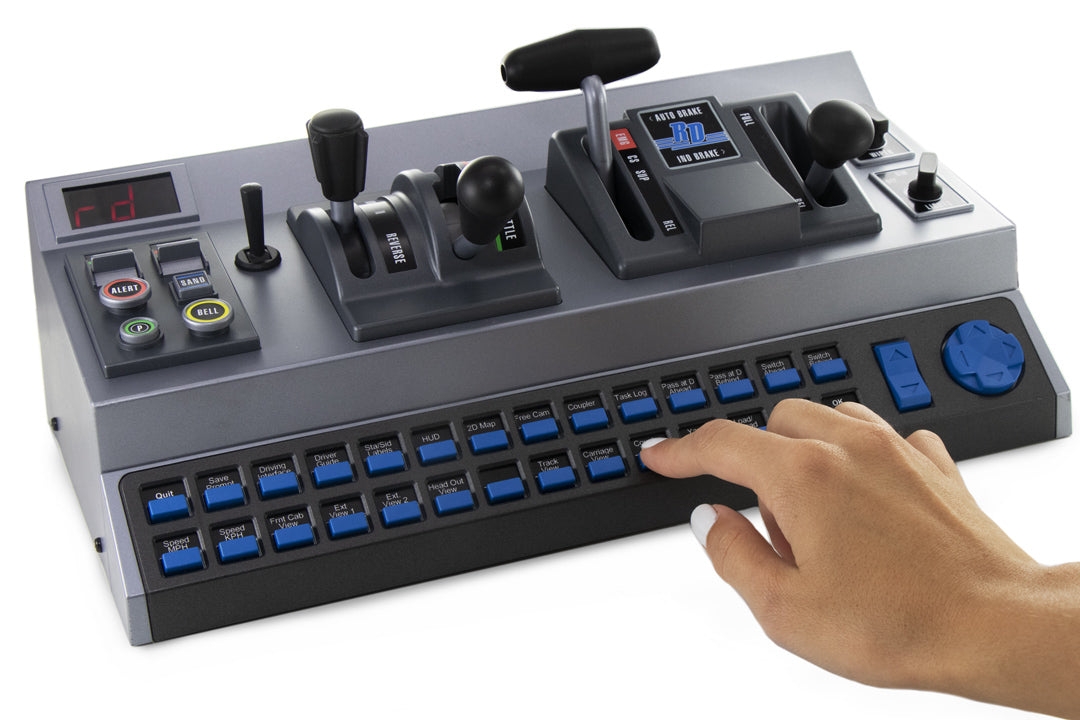
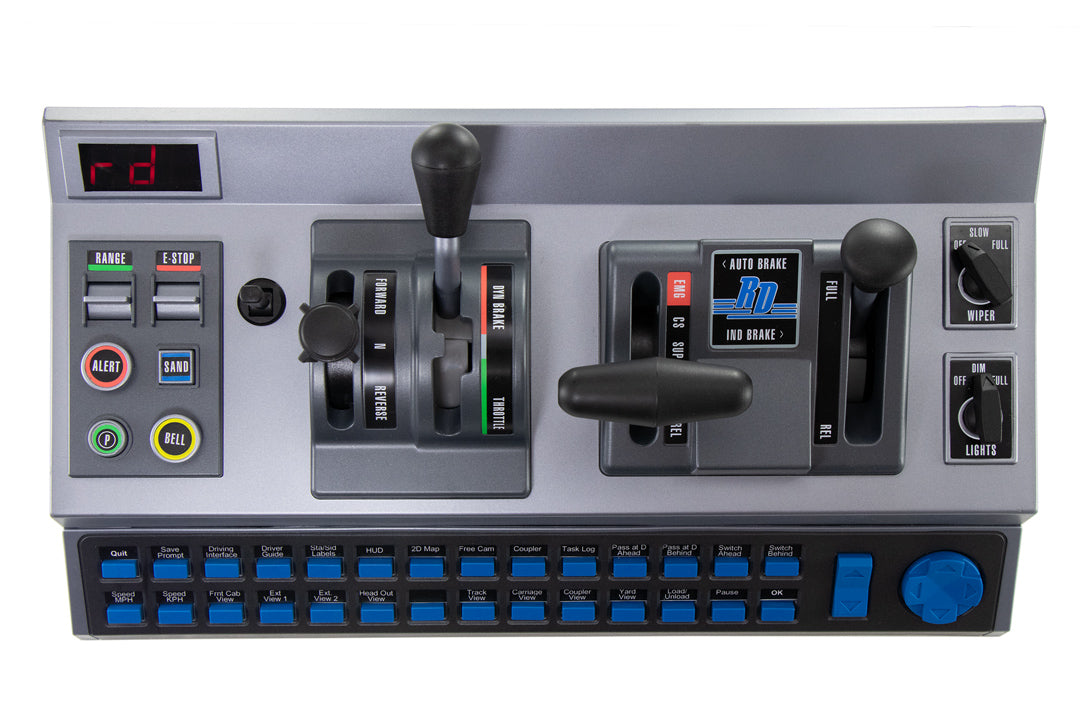
- When the simulator starts, the RailDriver display will flash
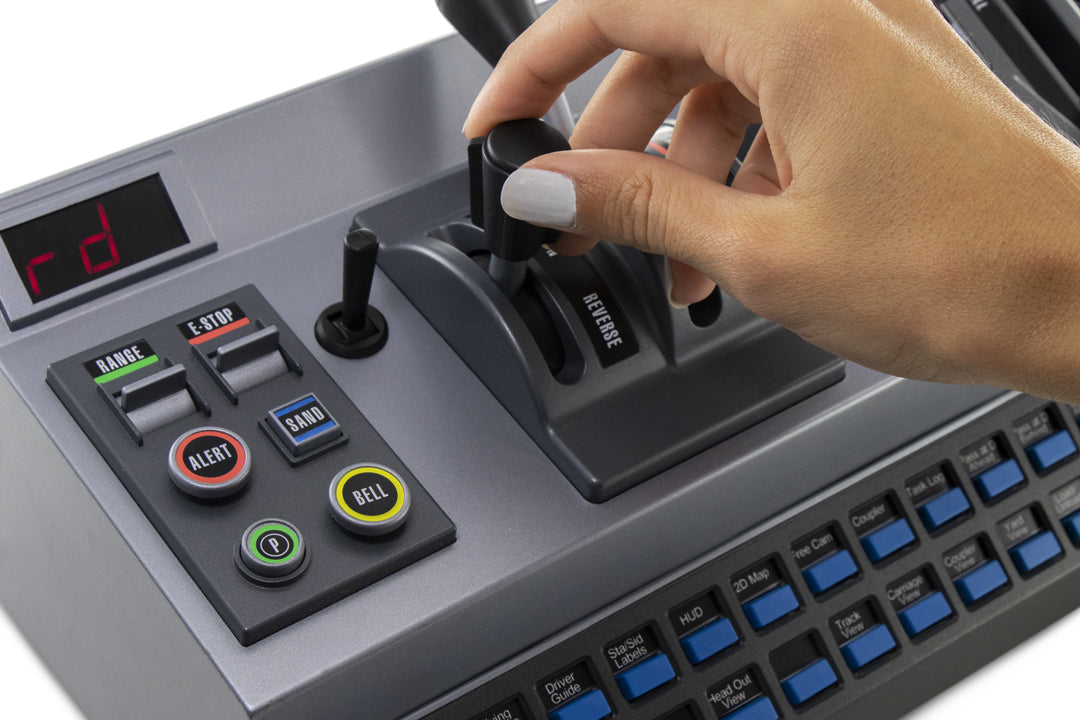
run. - Press the Run/Stop button (lower-left corner of the RailDriver).
- The display should change to
0. - You’re ready to drive!

AMERICAN ENGINEERING & MANUFACTURING